For builders and GCs
New-construction window installs for builders and GCs.
Nailing-fin windows, installed to your schedule.
Existing-home work? Window replacement. Patio doors? Sliding glass doors.
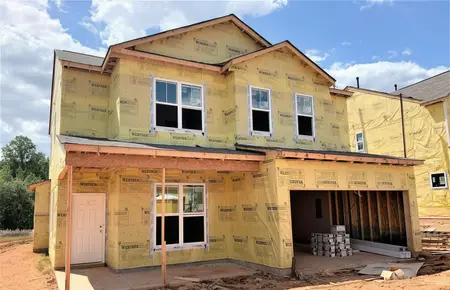
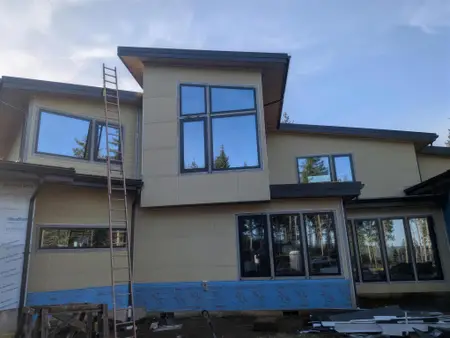
Clearview job photo — new build with windows set
Installation sequence
From plans to set day.
We verify the opening schedule, provide project pricing and lead time, then install to your sequence.
Contractor registration
Clearview Windows & Trim LLC · WA UBI 605 779 798 · L&I CLEARVW74601. Verify registration.
For project pricing
Send plans or a window schedule.
We price the full scope and flag missing or conflicting specs before ordering.
Include
- Opening count, sizes, and styles
- Brand, finish, and required glass or code specs
- Target set date and site contact
Window and glass options
Opening requirements
Prep and flashing.
Rough opening
Follow the unit spec. Frame within 1/4″ of square, corner to corner.
Weather barrier
Sheathing and properly lapped WRB must be complete before installation. No bare, unwrapped openings.
Flashing sequence
Sill, side, and head flashing tie the window into the WRB.
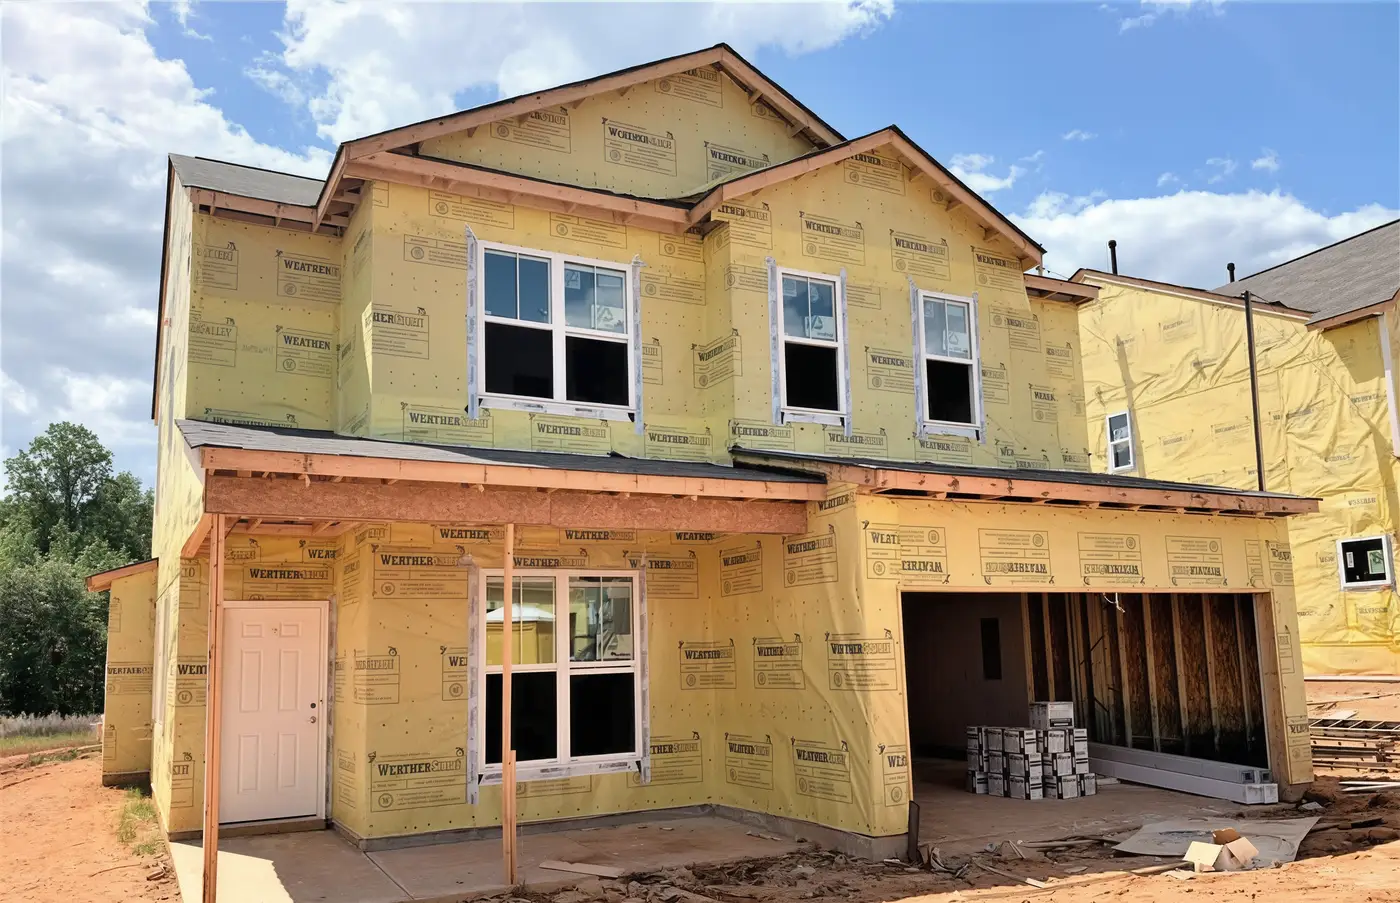 CLEARVIEW JOB PHOTO
What to look for
Lap each layer to shed water.
Reference detail; verify against unit specs and project requirements.
01SILLSill pan first; maintain drainage to the exterior.
02SIDESTie side flashing into the window and WRB.
03TOPLap head flashing over the WRB.
Verify the installation against project specs.Conditions vary by unit and wall assembly.
Clearview installation photo — actual company work. See more project photos.Project sequence
From schedule to handoff.
- Plans and schedule. Send plans or the opening schedule. We verify sizes, styles, and count before pricing.
- Quote and lead time. Receive one written project price and the manufacturer lead time.
- Framing check. We confirm rough openings match the approved schedule before set day.
- Window set. We install after sheathing and WRB, ahead of siding or stucco.
- Walk-through. We review the openings with your superintendent or PM and release the elevation to the next trade.
Before set day
Site ready. Schedule confirmed.
- Rough openings match the approved schedule
- Sheathing and WRB are complete; access is clear
- Superintendent or PM is available for schedule changes
- Siding, stucco, or EIFS follows our walk-through
- Openings and flashing are dry on install day
Scope
Clearview / Builder
Clearview
- Verify openings against the schedule before ordering
- Order units and track manufacturer lead times
- Set, shim, and flash the windows
- Integrate flashing with the weather-resistive barrier
- Walk the openings with your superintendent or PM
Builder / GC
- Frame to the approved rough-opening sizes
- Complete sheathing and WRB before installation
- Provide safe, clear access to each opening
- Notify us of schedule or sequence changes
- Schedule siding, stucco, or EIFS after the walk-through
We price schedule changes and out-of-scope work before proceeding.
Completed work
Installed and ready for the next trade.
See a recent new-construction installation.
More of the work
Set and flashed, two-story new buildNew constructionCorner windows set, new buildNew construction Request pricing
Send plans or request an estimate.
- Email plans or schedule. Marked-up elevations welcome.owner@windowsbyclearveiw.com.
- Use the form. Choose "Builder or GC" and add the city, opening count, and target date.Request pricing.
Written price and lead time before ordering.